Local Deployment
1. Open LagoFast and search for DeepSeek.
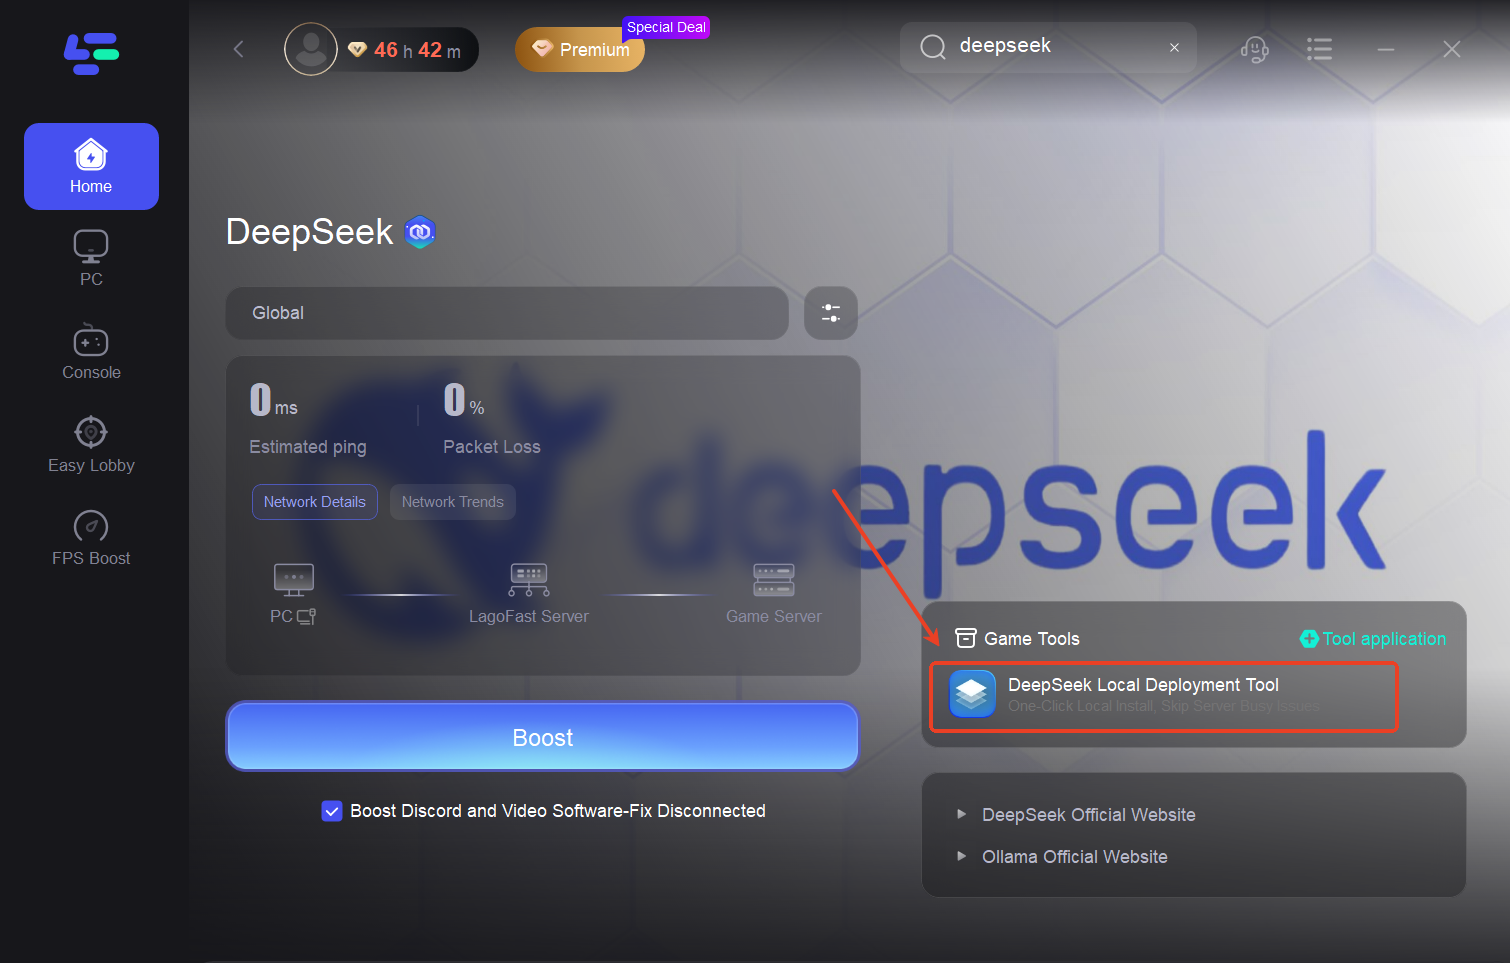
2. Locate the One-Click Deployment Tool in the toolbar.
3. Launch the tool and select the appropriate settings for your local environment.
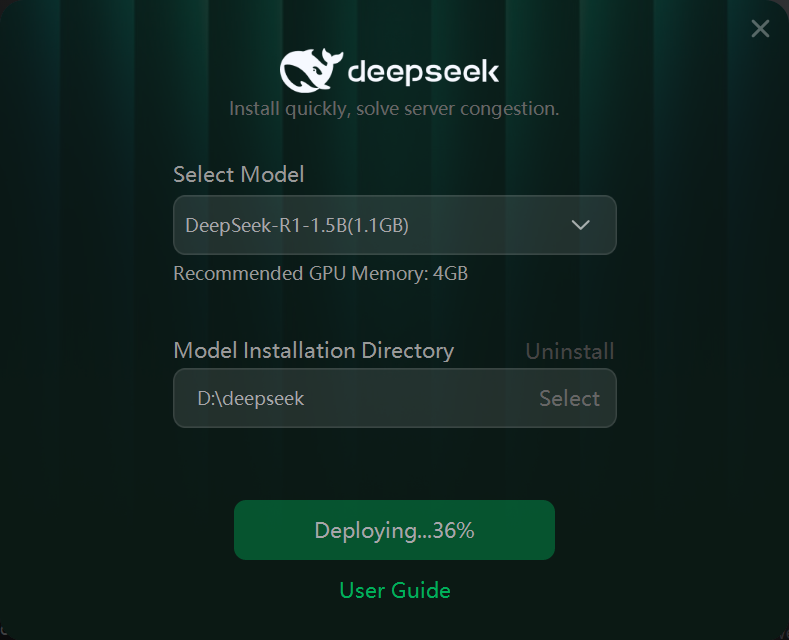
4. Once installation is complete, a dialog box will automatically open.
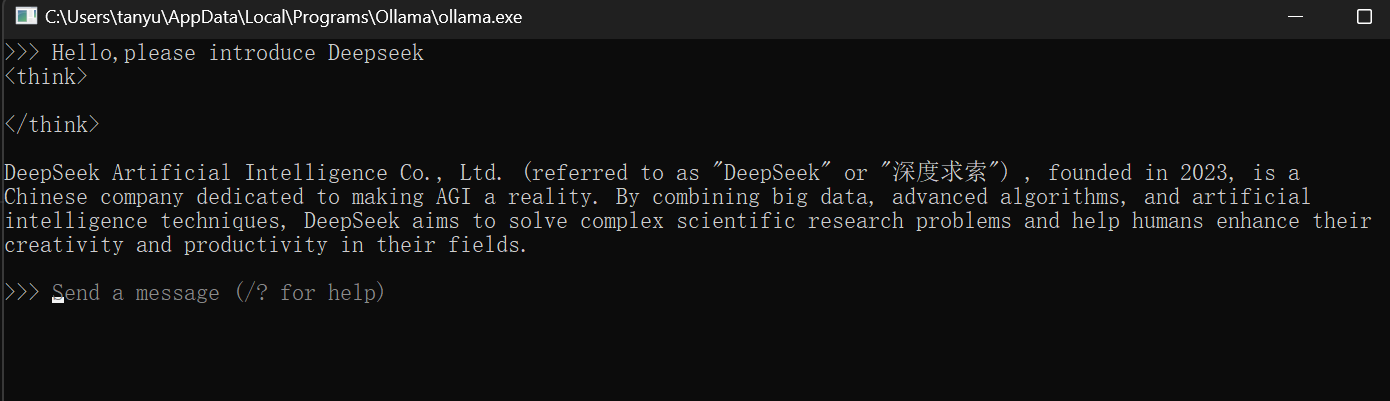
5. You can now interact with DeepSeek-R1 directly via the terminal.
Installing the WebUI Client
If you prefer a graphical interface for your locally deployed DeepSeek, follow these steps:
Note: This WebUI requires Google Chrome.
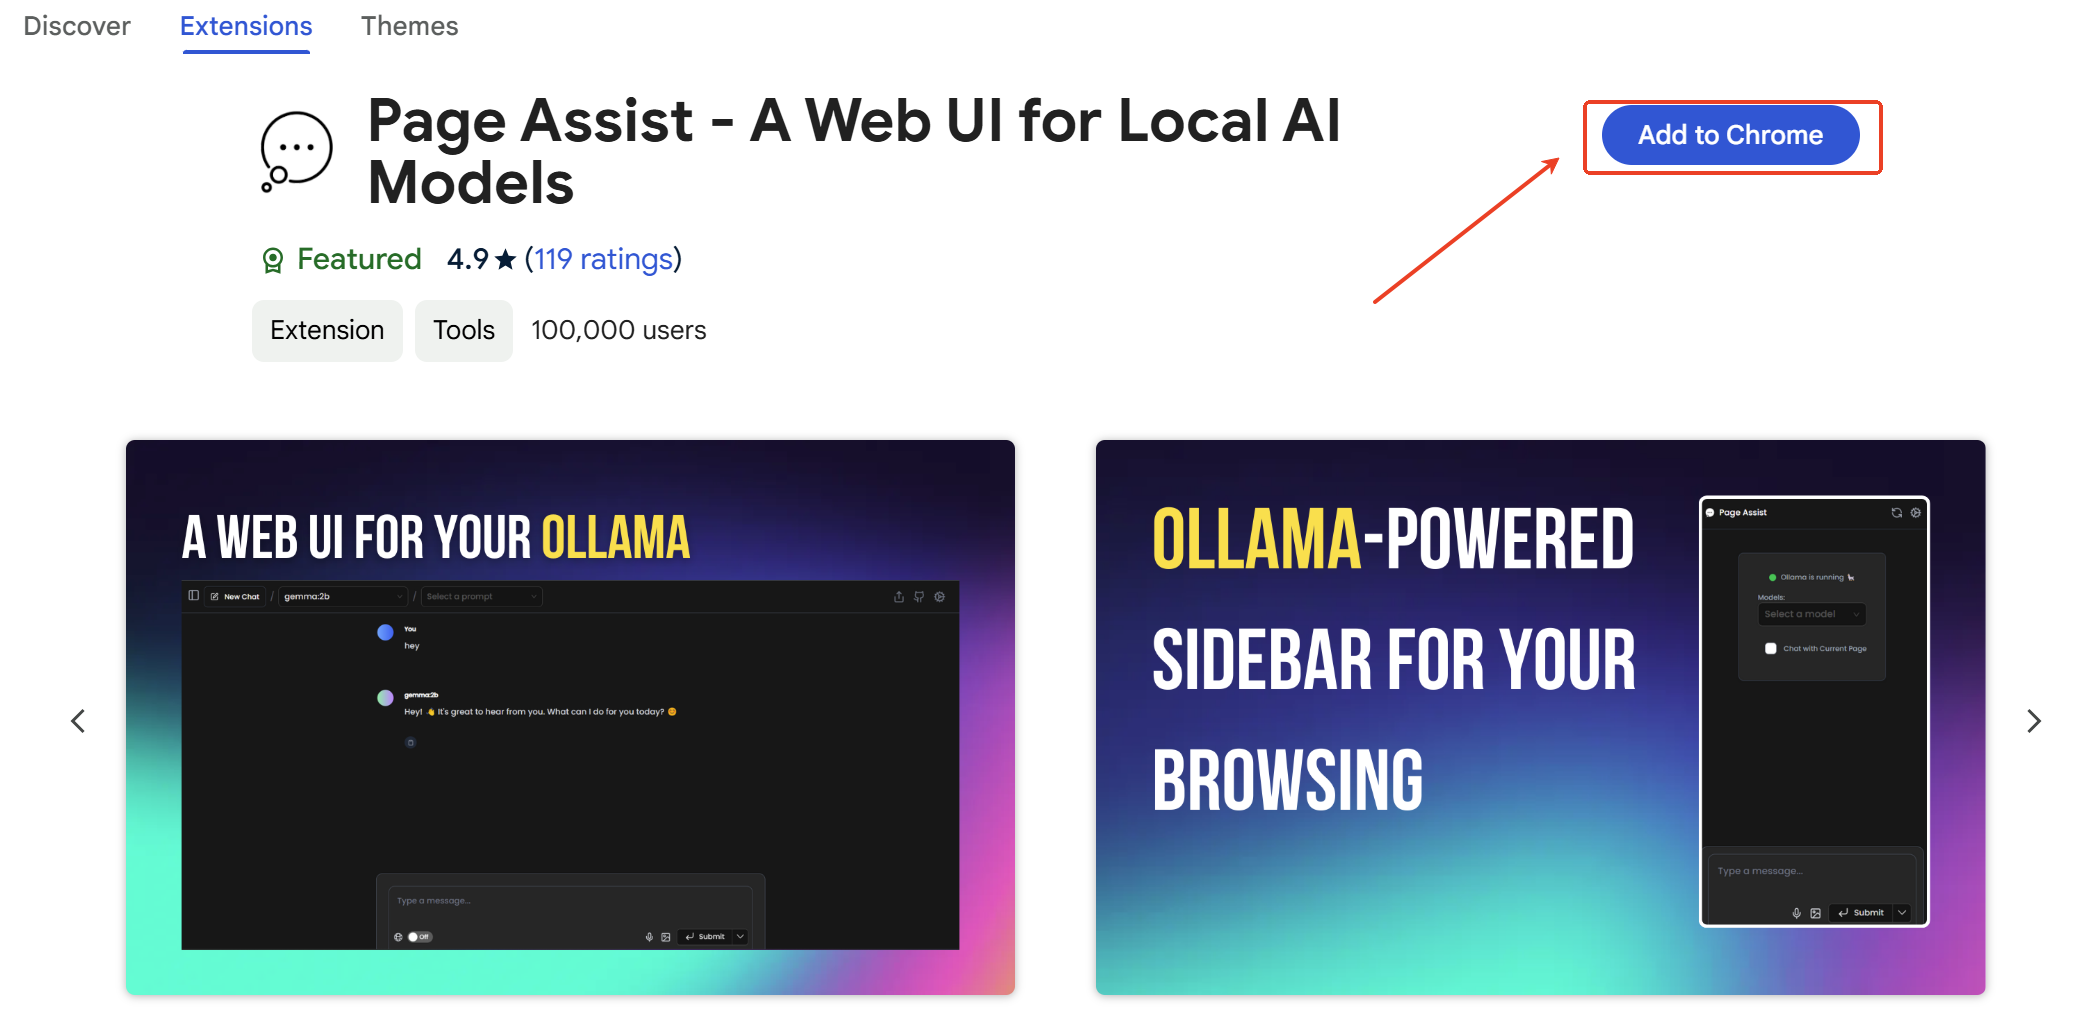
1. Download the WebUI extension from the Chrome Web Store: Page Assist: A Web UI for Ollama
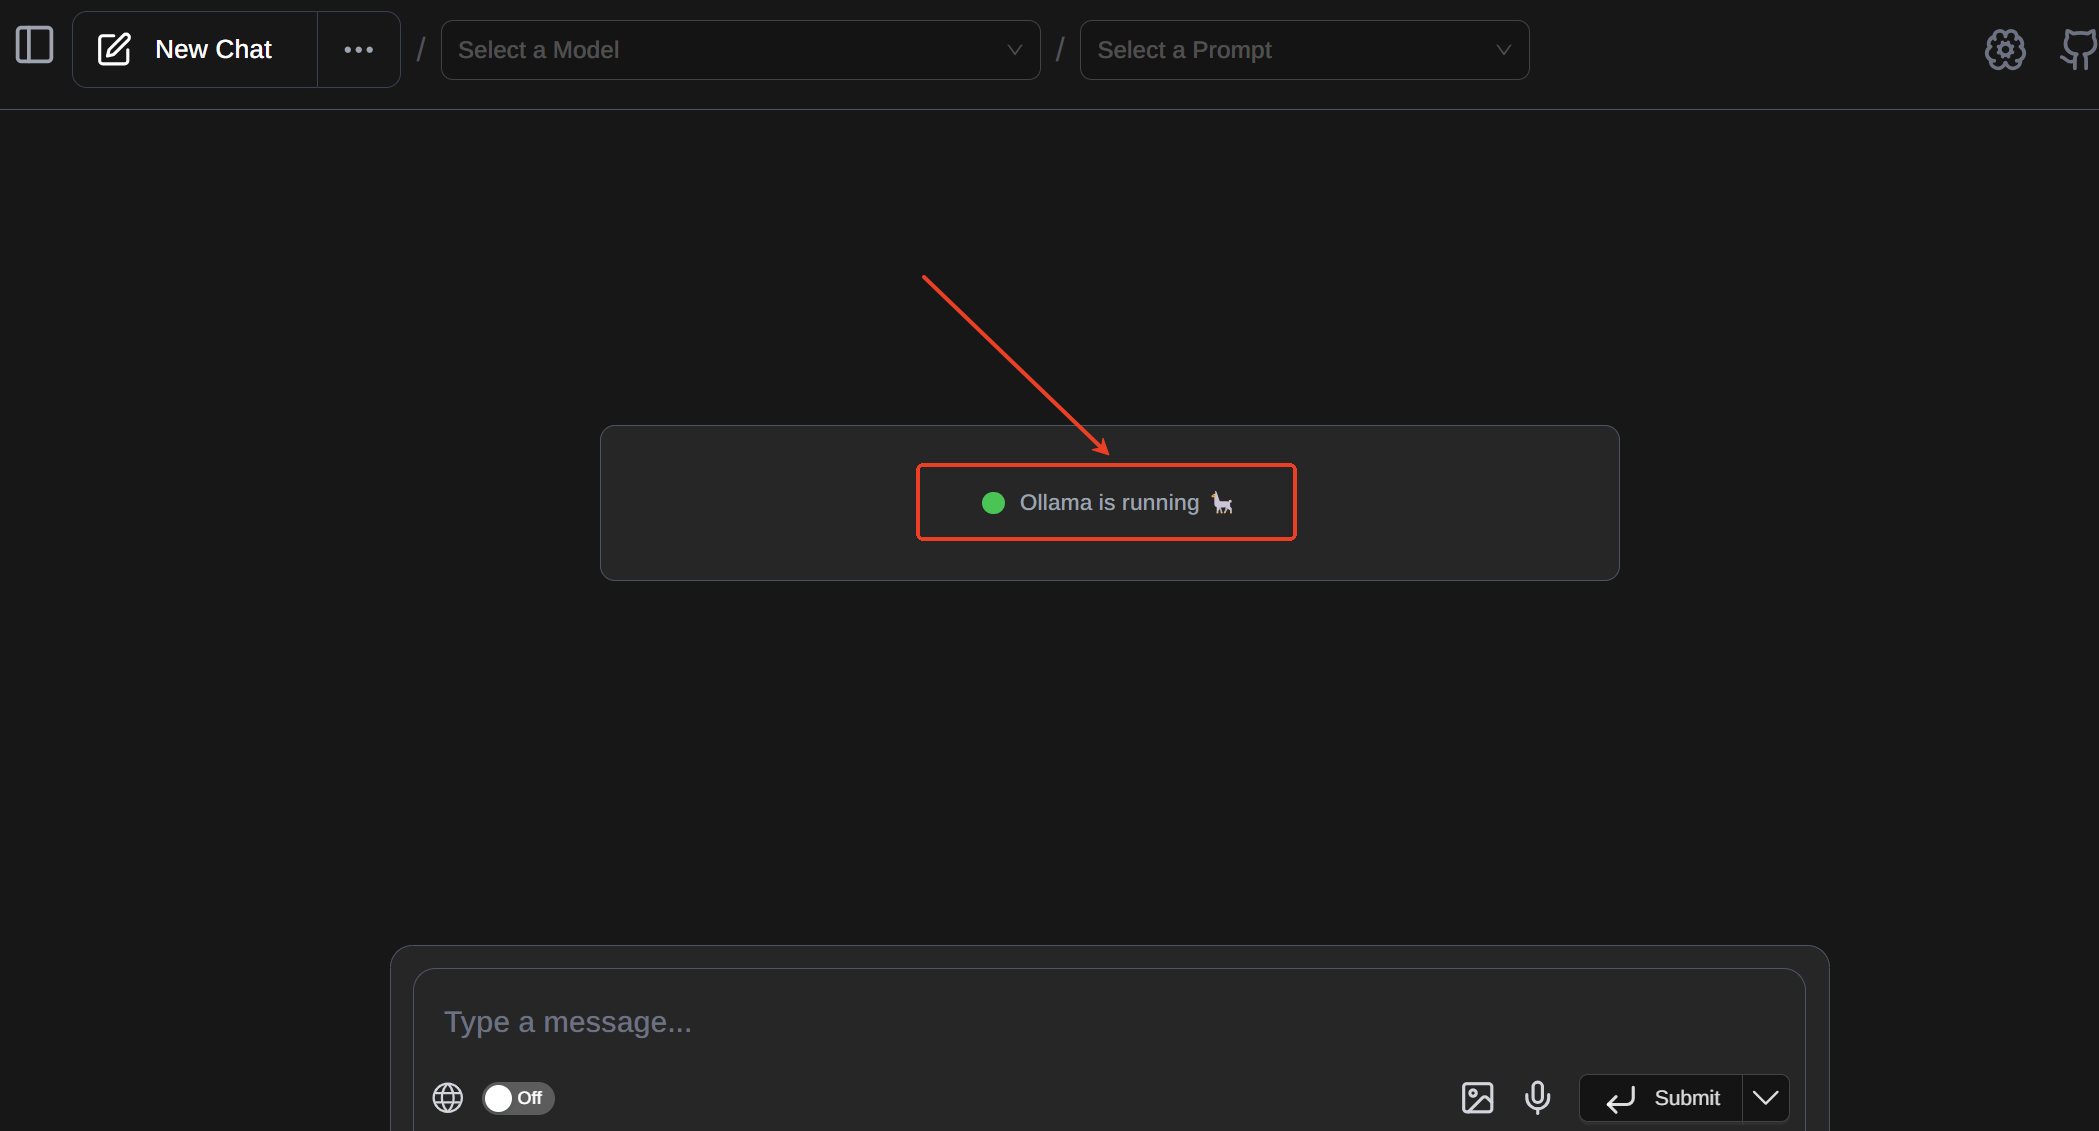
2. Open the Chrome extension. If you see "Ollama is running", it indicates that the extension has detected Ollama successfully.
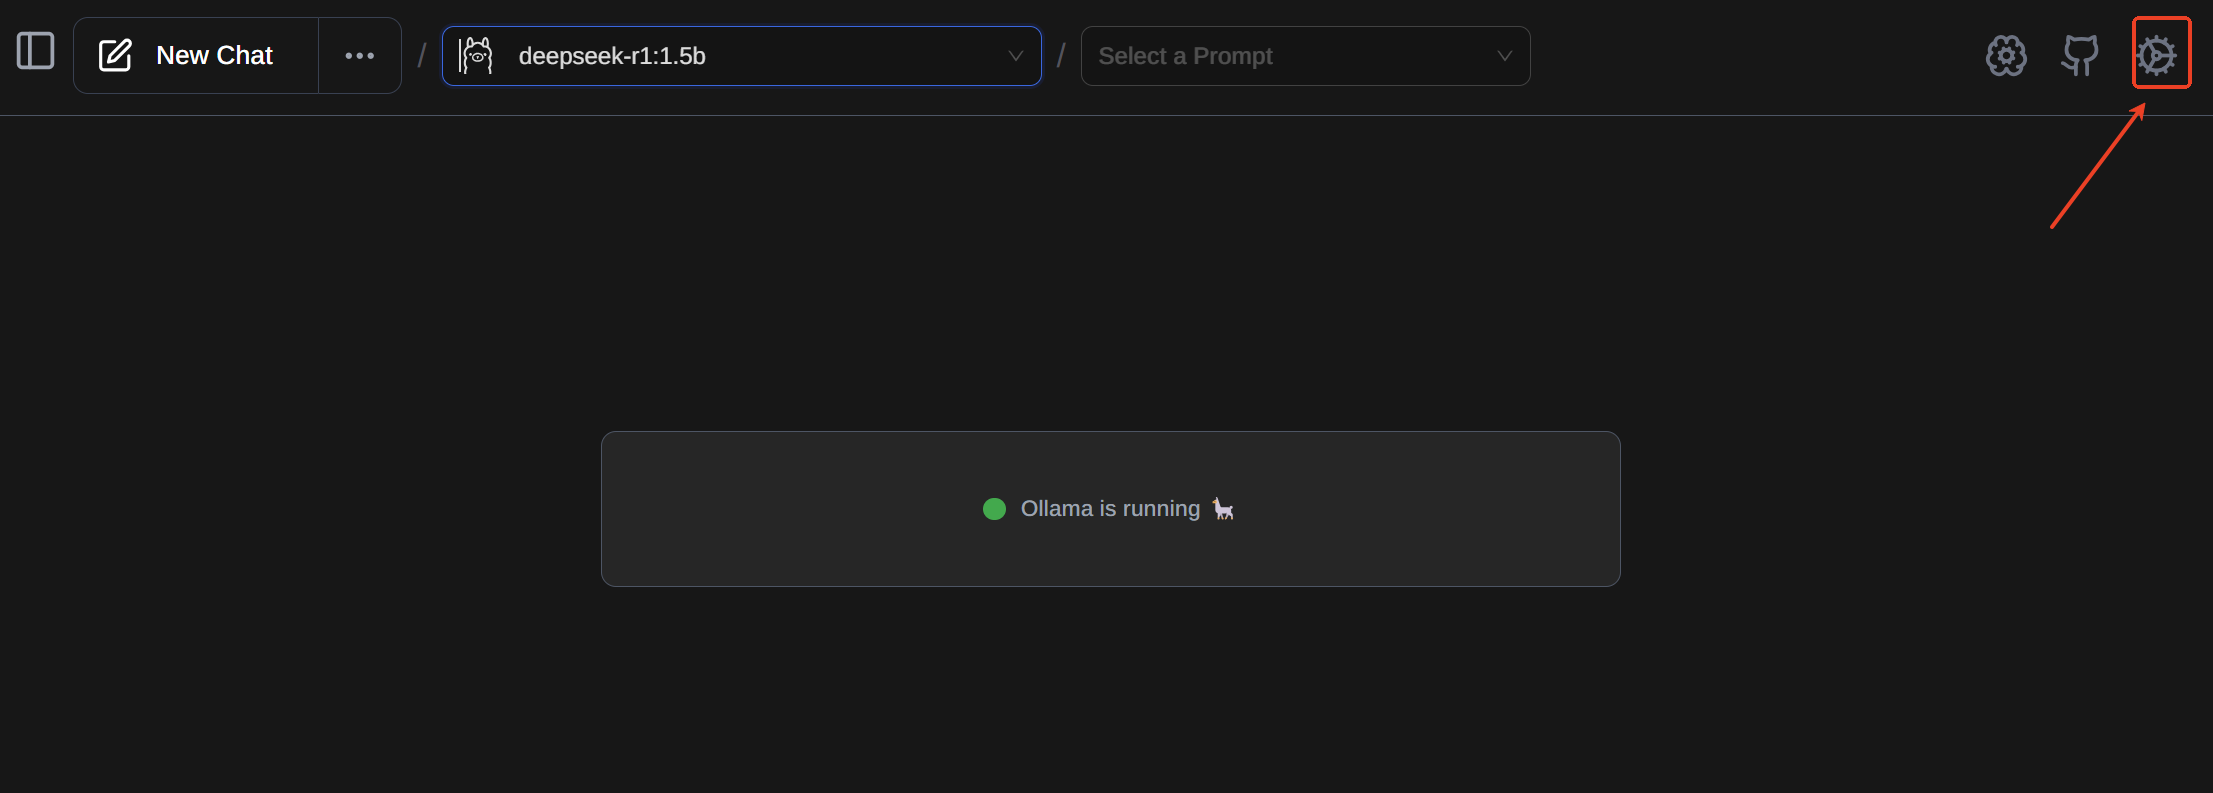
3. Click the top-left menu and select "Select a Model", then choose DeepSeek-R1.

4. Click the settings icon in the top-right corner of the WebUI.
5. In the left-hand menu under "RAG Settings", set the Embedding Model to DeepSeek-R1.
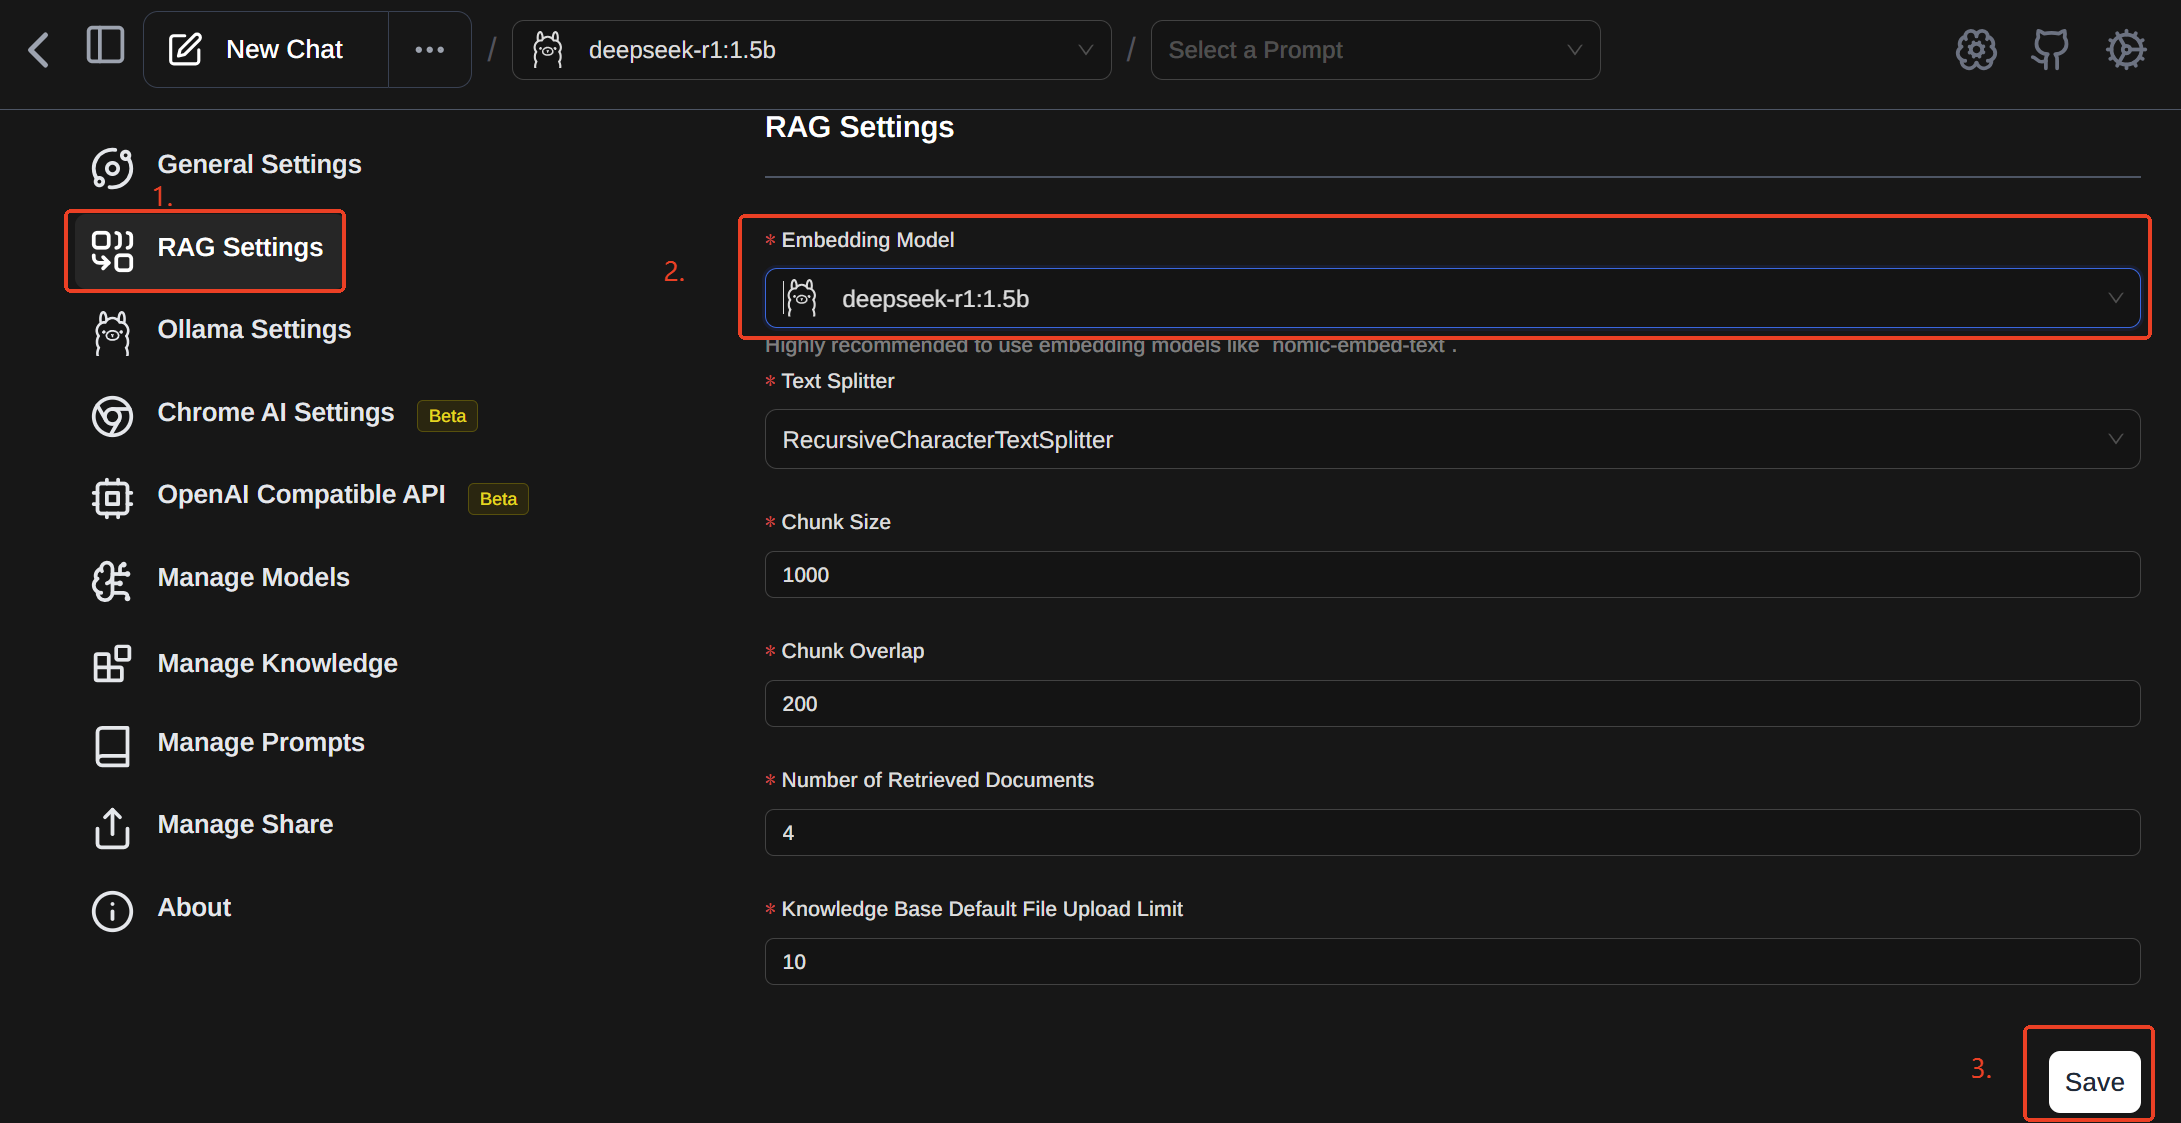
6. Click Save at the bottom-right. You can now use DeepSeek through the WebUI.

Download and Configure AnythingLLM (Local Database)
Official Website: AnythingLLM
Download Link: Download AnythingLLM
Setup Process:
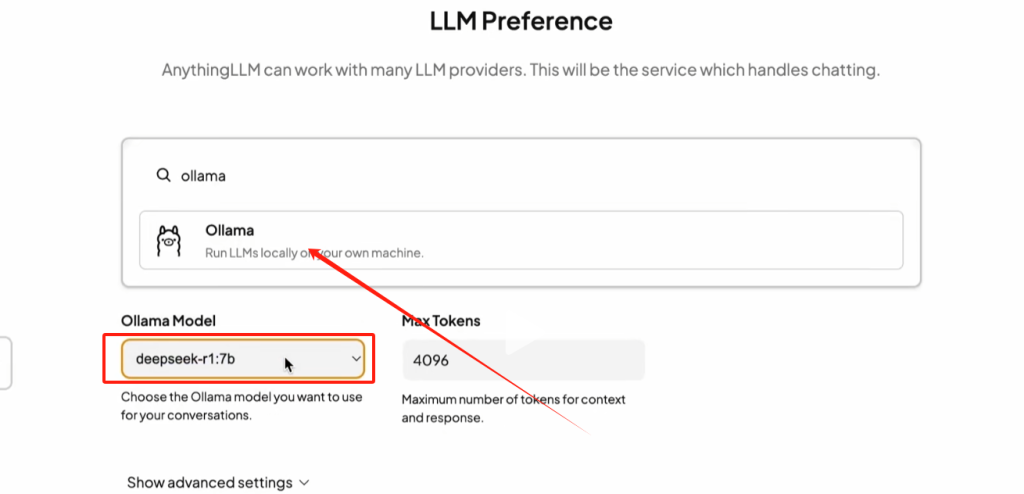
1. Ensure that Ollama is running and properly configured before proceeding.
2. Select Ollama, then choose your locally installed DeepSeek instance.
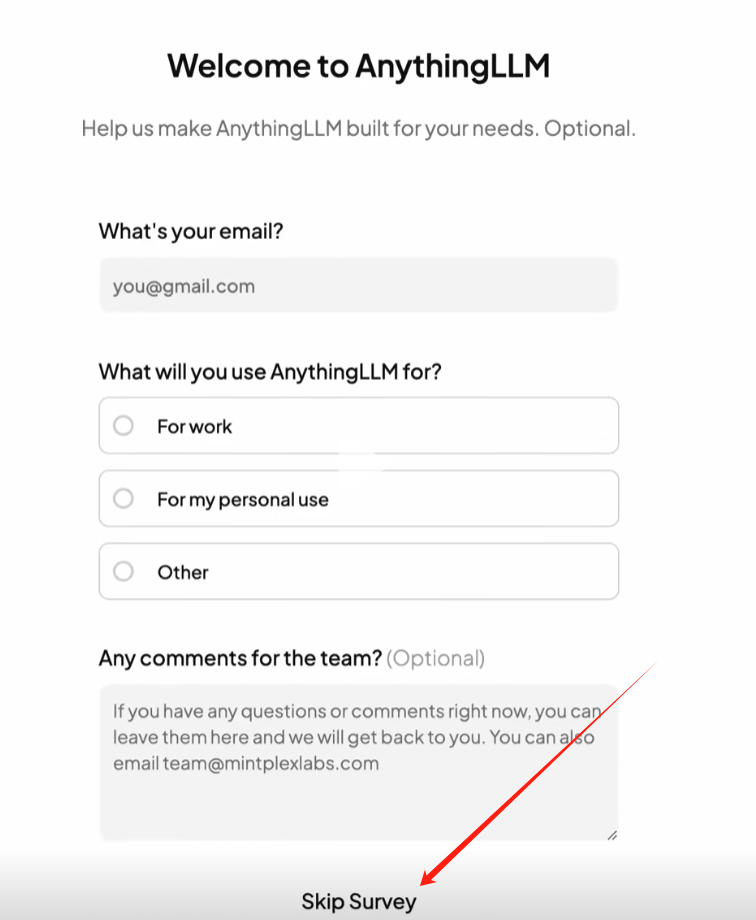
3. Click Next, then select Skip when prompted.
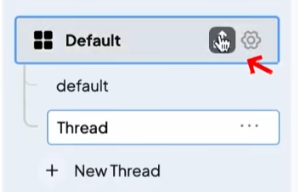
4. Create a workspace according to your requirements.
5. Inside AnythingLLM, navigate to settings and select a preferred chat mode
- Chat Mode: Responds to any query, though some answers may be inaccurate.
- Query Mode: Searches your local database for answers and informs you if no relevant data is found.
6. To enhance responses based on local documents, upload relevant files by clicking the Upload button on the left-hand panel.
With these steps completed, DeepSeek will utilize your local database to generate responses tailored to your data.